Published: · Modified: by Kate · This post may contain affiliate links. As an Amazon associate, I earn from qualifying purchases.
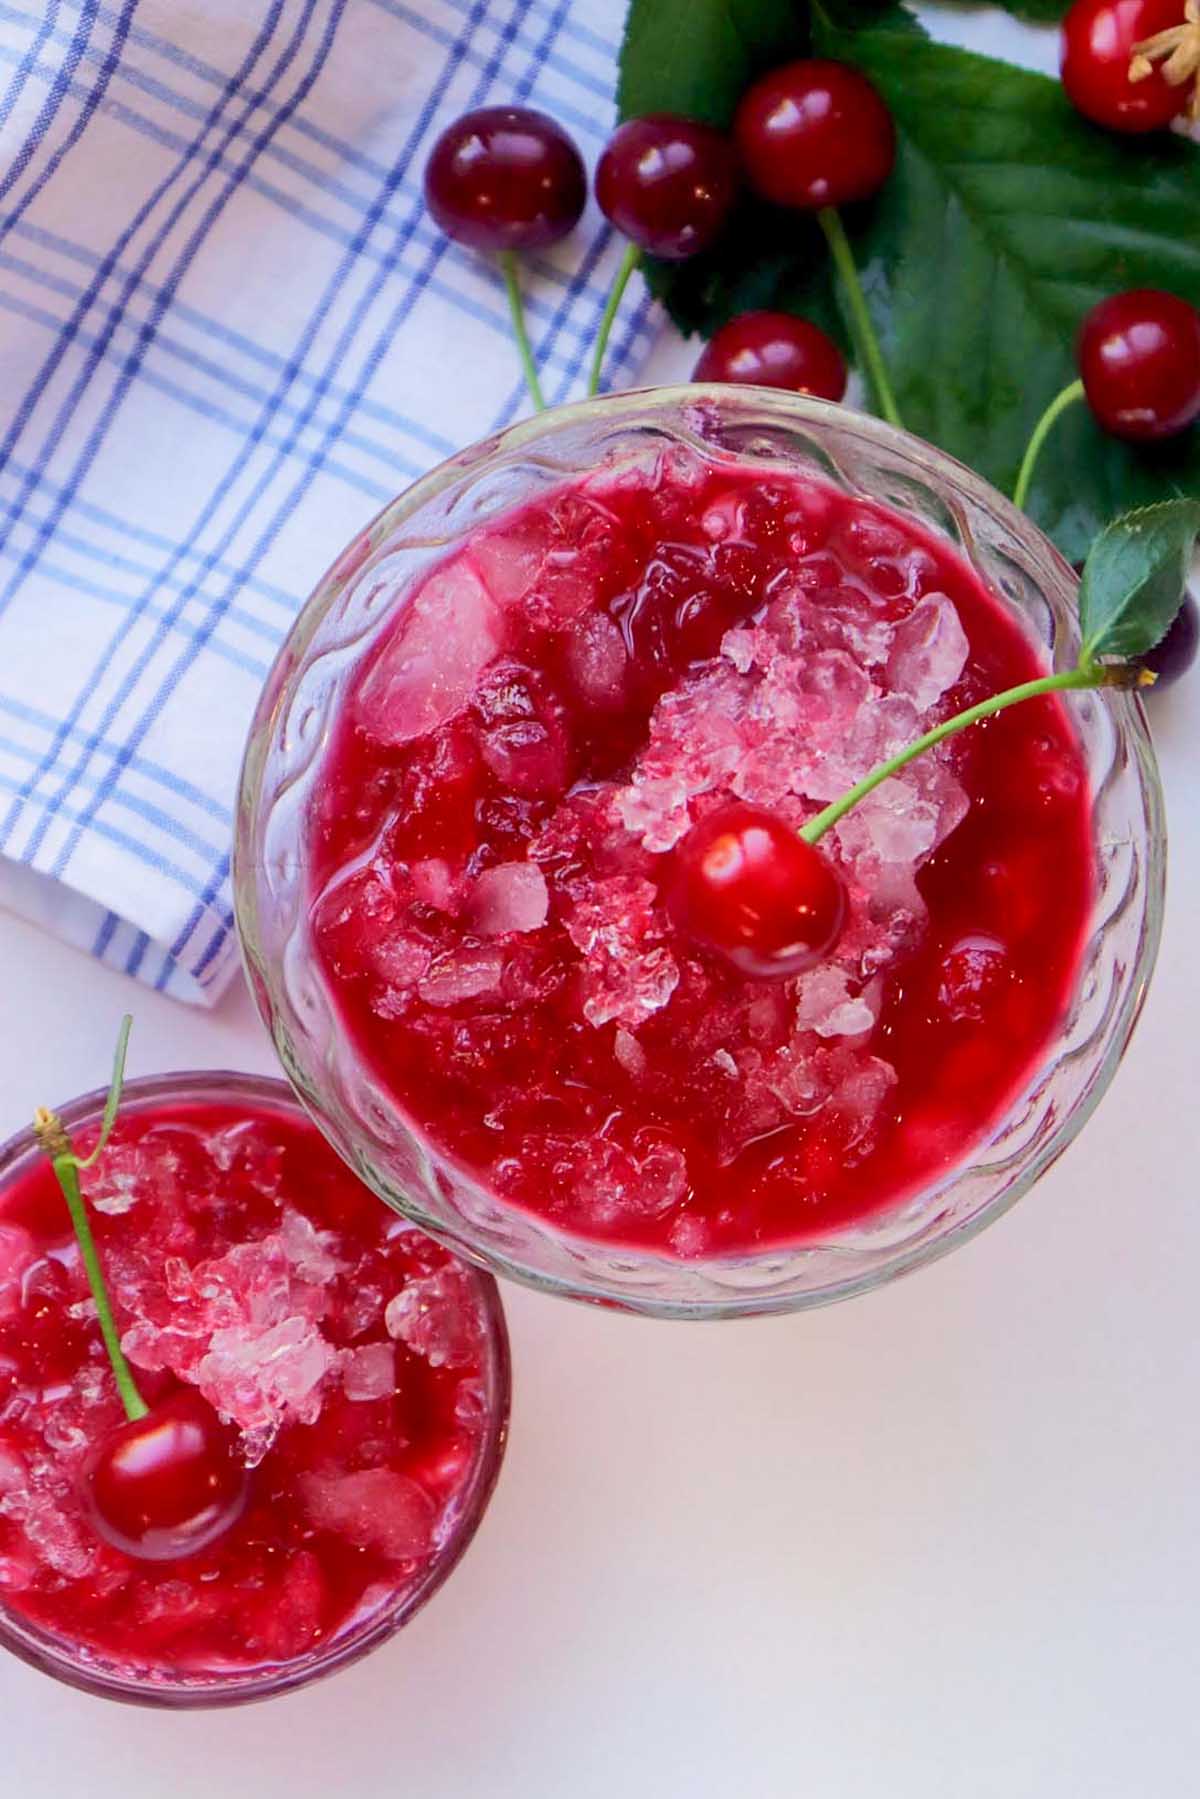
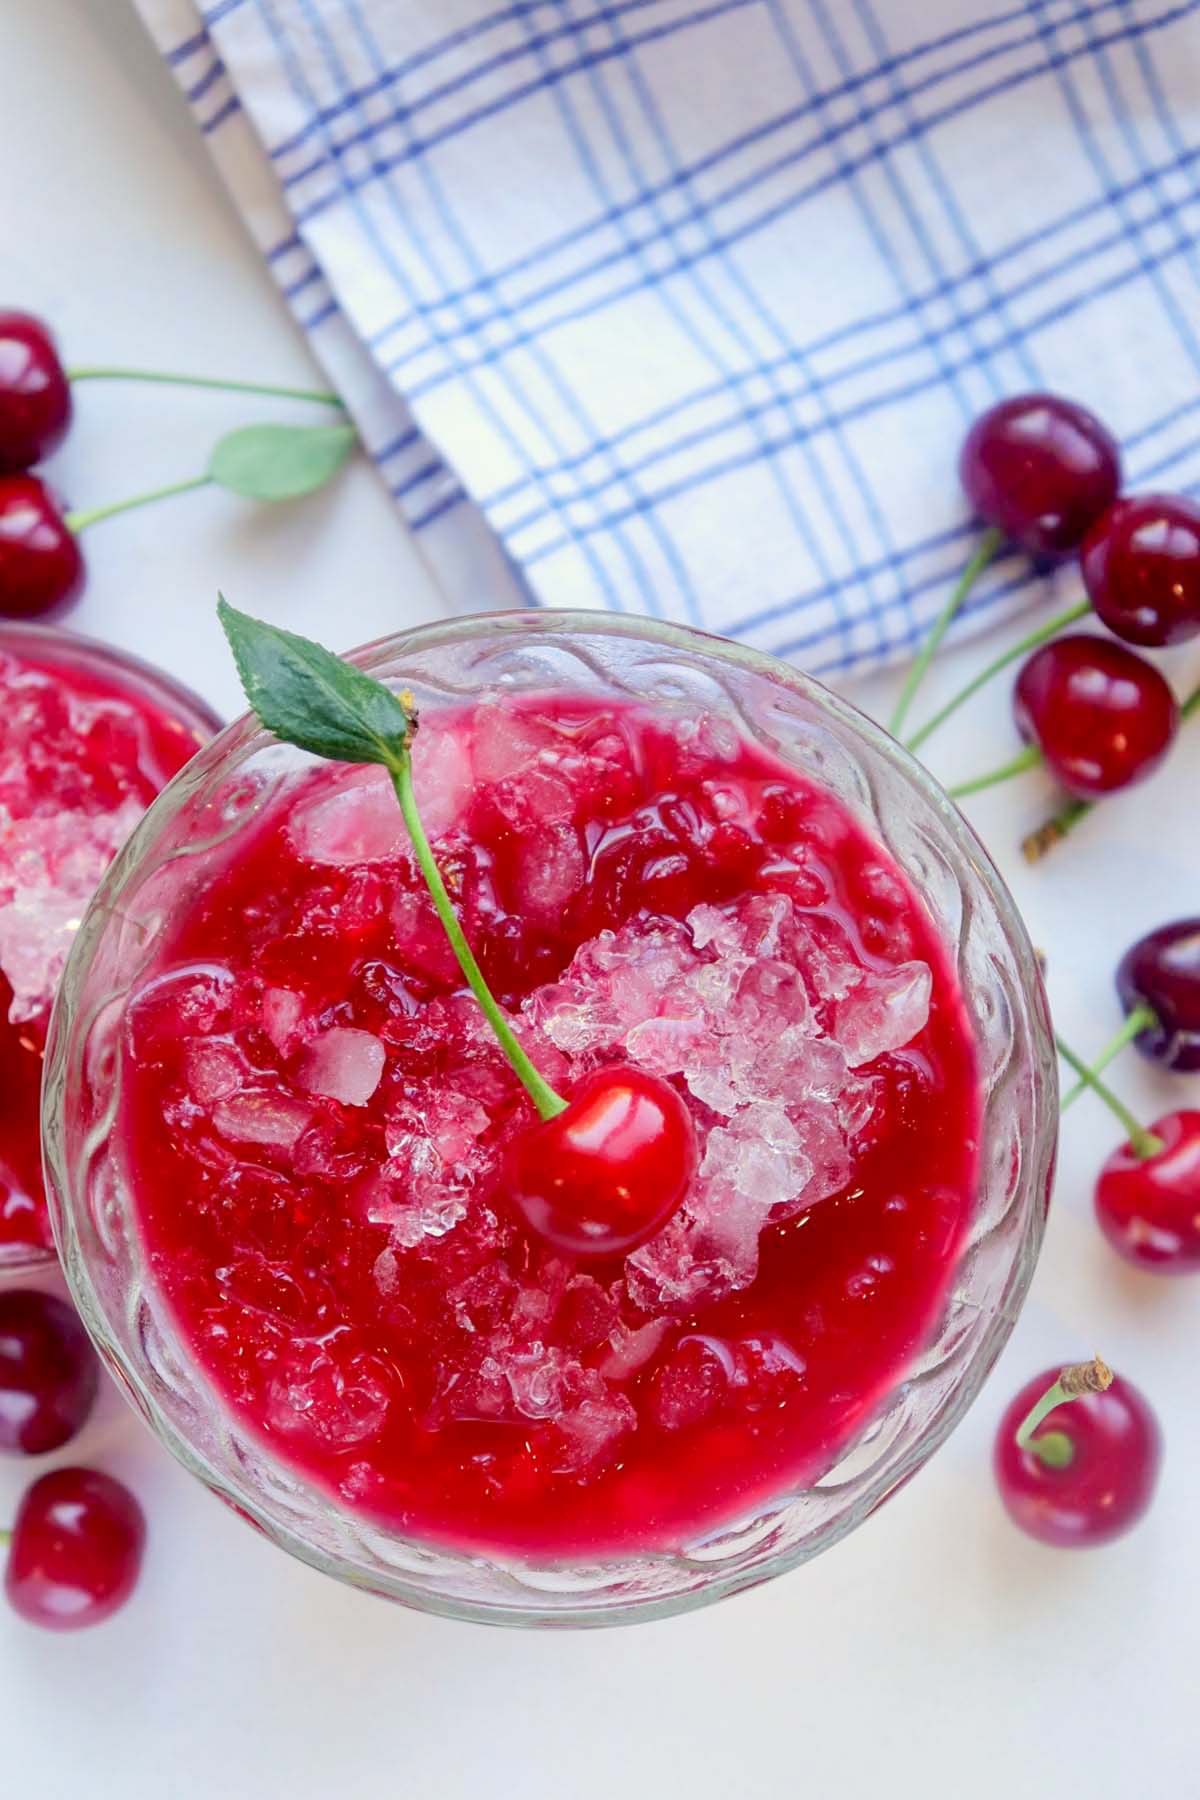
This Healthy Snow Cone Syrup recipe is a delicious and refreshing treat that you can enjoy guilt free. Made with fresh cherries, monk fruit sweetener, vanilla extract, and water, this syrup is a natural and low calorie alternative to traditional snow cone syrups.
Healthy snow cone syrup is a delicious and refreshing alternative to traditional snow cone syrups that are often loaded with artificial colors, flavors, and high-fructose corn syrup.
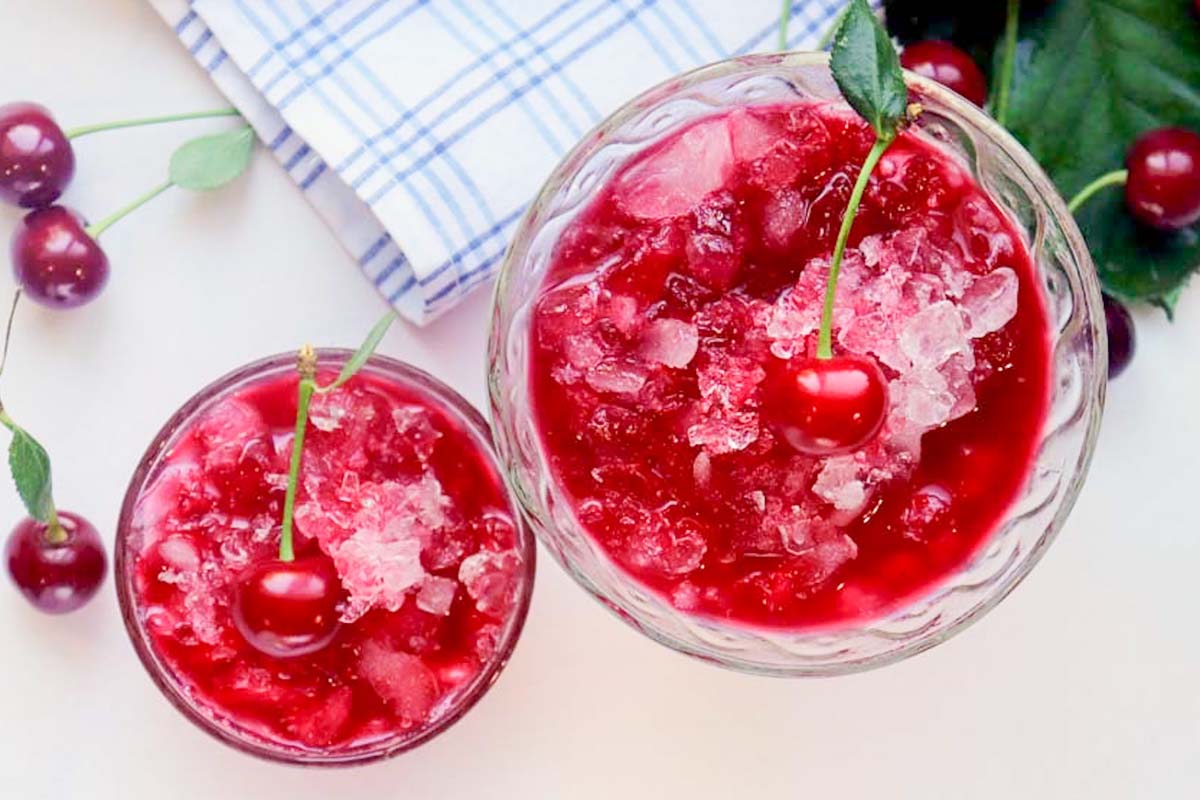
This syrup is made with fresh cherries, monk fruit sweetener, vanilla extract, and water, which makes it a natural and low-calorie option that is perfect for anyone looking to enjoy a sweet and cooling treat without all the added sugars.
This snow cone syrup is a perfect way to satisfy your sweet tooth while still sticking to your healthy eating goals. It’s easy to make, tastes great, and is a perfect way to cool down on a hot summer day.
Why You’ll Love This Recipe
It’s made with natural ingredients. Fresh cherries, monk fruit sweetener, vanilla extract, and water are all natural ingredients that make this syrup a healthy alternative to traditional snow cone syrups that are often loaded with artificial colors and flavors.
It’s low in calories. Monk fruit sweetener is low in calories, so you can enjoy this syrup without worrying about added calories.
It’s easy to make. With just a few simple steps, you can have delicious and refreshing snow cone syrup ready to enjoy in no time.
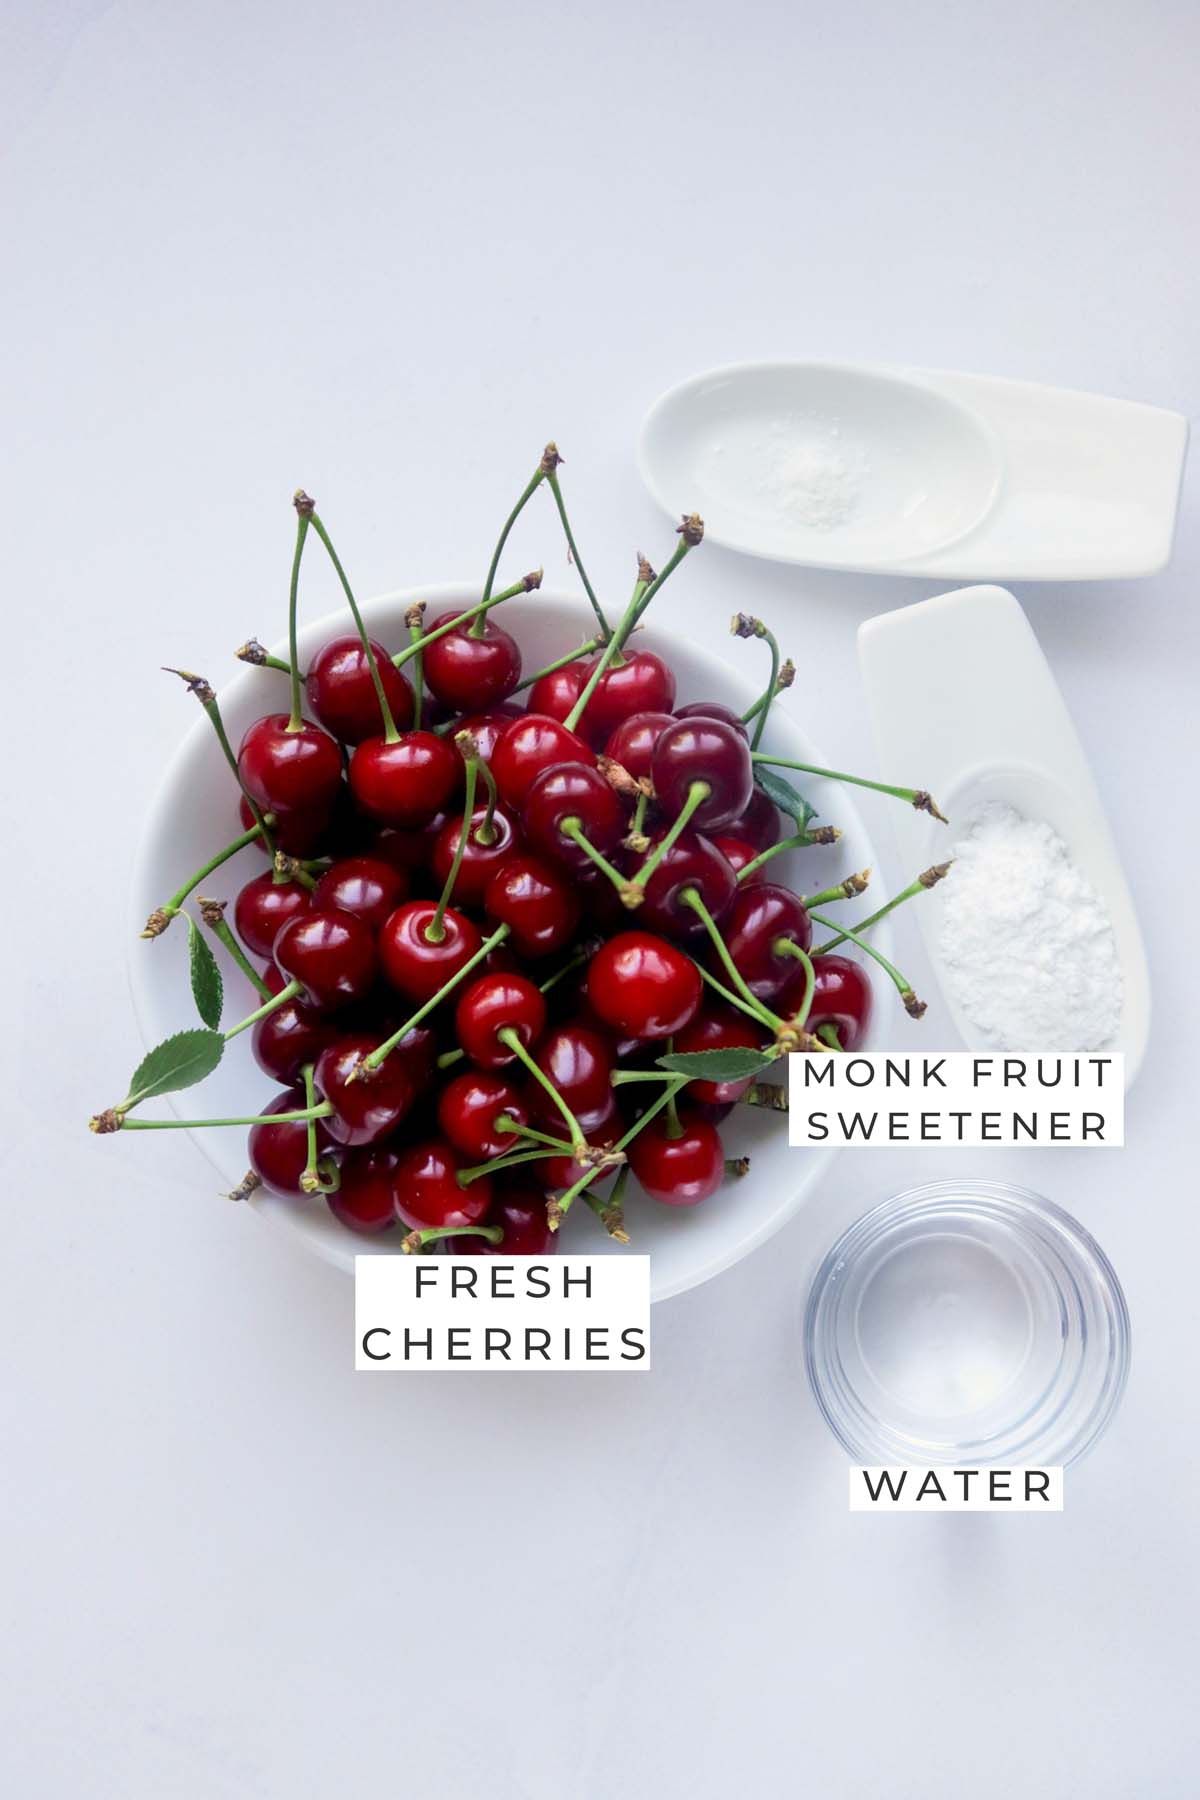
Ingredients You’ll Need
Fresh Cherries: A low-calorie fruit that are high in antioxidants, fiber, and vitamins.
Monk Fruit Sweetener: Low in calories and doesn’t cause blood sugar spikes, making it a popular alternative to sugar and artificial sweeteners.
Vanilla Extract: Adds a delicious and comforting flavor to the syrup.
Water: A vital ingredient in this recipe that helps to create a smooth and pourable consistency for the syrup.
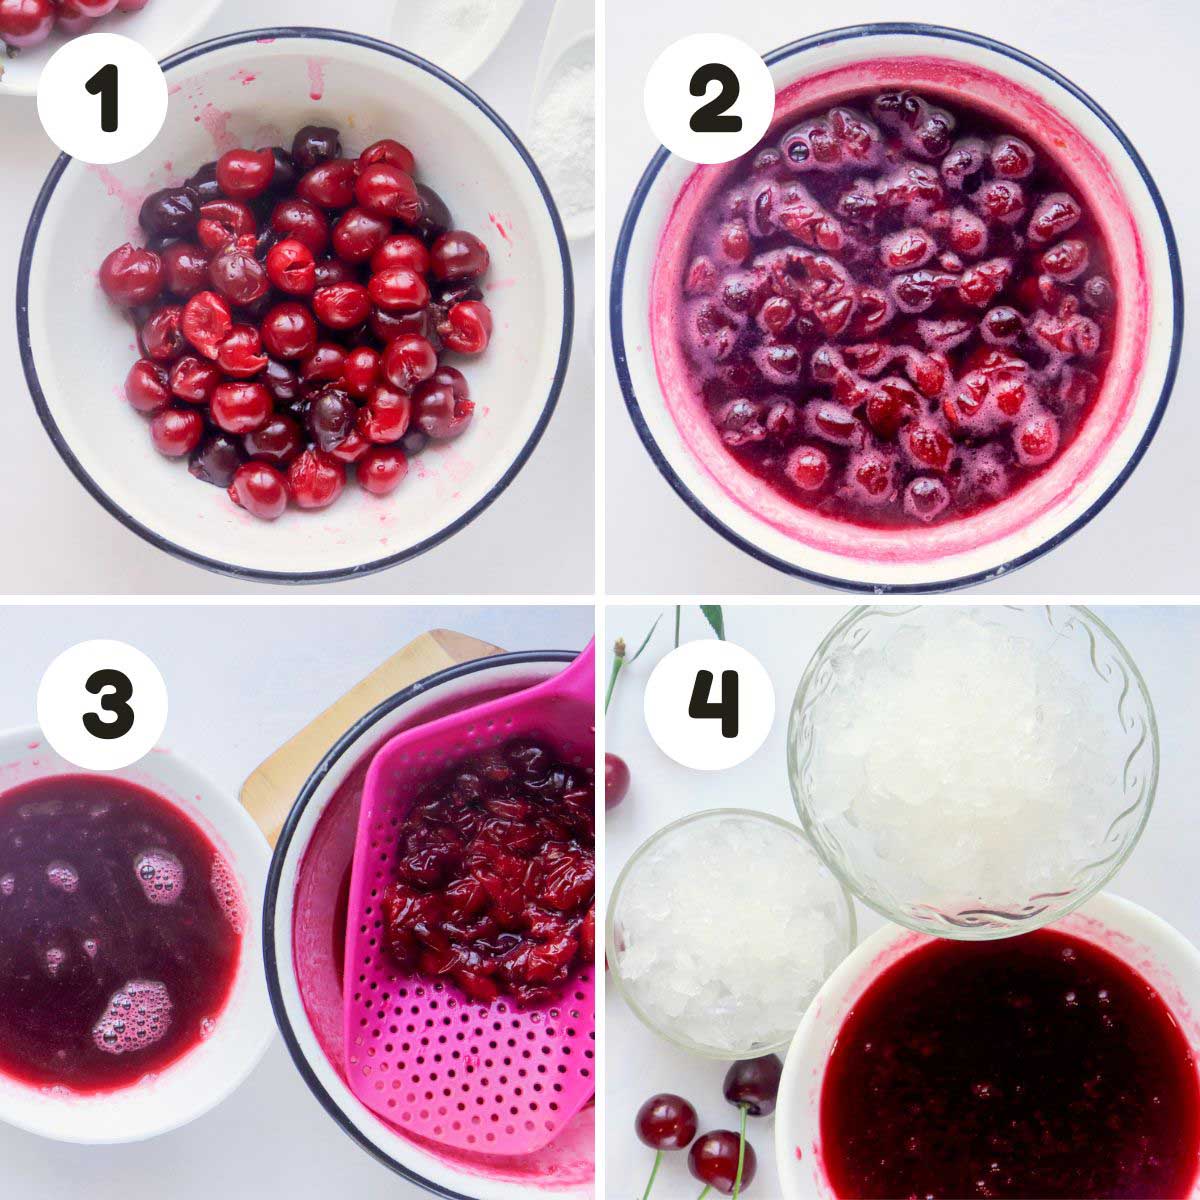
Step-By-Step Instructions
Step 1: In a medium saucepan, combine the cherries, sweetener, vanilla extract, and water. Bring the mixture to a boil over medium heat, stirring occasionally.
Step 2: Once boiling, reduce the heat to low and let the mixture simmer for 10-15 minutes, or until the cherries have softened and the liquid has thickened slightly.
Step 3: Remove the saucepan from the heat and let it cool for a few minutes. Use an immersion blender or transfer the mixture to a blender and puree until smooth.
Step 4: Strain the mixture through a fine mesh sieve to remove any solids.
Step 5: Transfer the syrup to a jar or container and let it cool completely. Once cooled, the syrup is ready to use. Enjoy!
NOTE: You can print the FULL recipe with all ingredients & detailed instructions below!
Experts Tips
Choose ripe cherries. When selecting cherries for this recipe, make sure they are ripe and juicy. Ripe cherries will have a darker color and be slightly soft to the touch.
Strain the mixture. After pureeing the mixture, strain it through a fine-mesh sieve to remove any solids and create a smooth and pourable consistency.
Adjust the sweetness and flavor. If you prefer a sweeter or more flavorful syrup, feel free to adjust the amount of sweetener or vanilla extract to your liking.
Chill the syrup before using. For the best results, chill the syrup in the refrigerator for at least 30 minutes before using. This will help it to thicken slightly and create a better texture on your snow cone.
Variations
Mixed Berry: Replace the cherries with a mix of your favorite berries, such as strawberries, blueberries, and raspberries, to create a delicious mixed berry snow cone syrup.
Peach: Replace the cherries with fresh peaches to create a sweet and tangy peach snow cone syrup.
Lime: Replace the cherries with freshly squeezed lime juice to create a tart and refreshing lime snow cone syrup.
Storing & Freezing
Storing: To store this healthy snow cone syrup, transfer it to an airtight container and refrigerate it for up to one week.
Freezing: If you’re making a large batch of syrup, you can also freeze it in ice cube trays and then transfer the frozen cubes to a freezer-safe container or bag for longer-term storage. Frozen cubes can be stored in the freezer for up to three months.
Recipe FAQ’s
Can I use frozen cherries instead of fresh cherries?
Yes, you can use frozen cherries instead of fresh cherries in this recipe. Thaw the cherries before blending them with the other ingredients.
Can I use a different sweetener instead of monk fruit sweetener?
Yes, you can use a different sweetener of your choice, such as honey, maple syrup, or agave nectar. Keep in mind that different sweeteners may affect the flavor and consistency of the syrup.
More Sweets Recipes You’ll Love
If you love this recipe, please leave a comment with a five-star rating — or simply hit the five-star button in the recipe card. Don’t forget to signup for my newsletter!
Healthy Snow Cone Syrup
This healthy snow cone syrup recipe is a delicious and refreshing treat that you can enjoy guilt free. Made with fresh cherries, sweetener, vanilla extract, and water, this syrup is a natural and low calorie alternative to traditional snow cone syrups.
In a medium saucepan, combine the cherries, sweetener, vanilla extract, and water. Bring the mixture to a boil over medium heat, stirring occasionally.
Once boiling, reduce the heat to low and let the mixture simmer for 10-15 minutes, or until the cherries have softened and the liquid has thickened slightly.
Remove the saucepan from the heat and let it cool for a few minutes. Use an immersion blender or transfer the mixture to a blender and puree until smooth.
Strain the mixture through a fine mesh sieve to remove any solids.
Transfer the syrup to a jar or container and let it cool completely. Once cooled, the syrup is ready to use. Enjoy!
Notes
When selecting cherries for this recipe, make sure they are ripe and juicy. Ripe cherries will have a darker color and be slightly soft to the touch.
After pureeing the mixture, strain it through a fine-mesh sieve to remove any solids and create a smooth and pourable consistency.
If you prefer a sweeter or more flavorful syrup, feel free to adjust the amount of sweetener or vanilla extract to your liking.
For the best results, chill the syrup in the refrigerator for at least 30 minutes before using. This will help it to thicken slightly and create a better texture on your snow cone.
Storing: To store this healthy snow cone syrup, transfer it to an airtight container and refrigerate it for up to one week.
Freezing: If you’re making a large batch of syrup, you can also freeze it in ice cube trays and then transfer the frozen cubes to a freezer safe container or bag for longer term storage. Frozen cubes can be stored in the freezer for up to 3 months.
All nutritional information is based on third-party calculations and should be considered estimates. Actual nutritional content will vary with brands used, measuring methods, portion sizes and more.
Tried this recipe?Give it a star rating and leave a comment below!
Jeannie notes.. Above is curated for evaluation and recommendation from simplylowcal.com


Leave a Reply