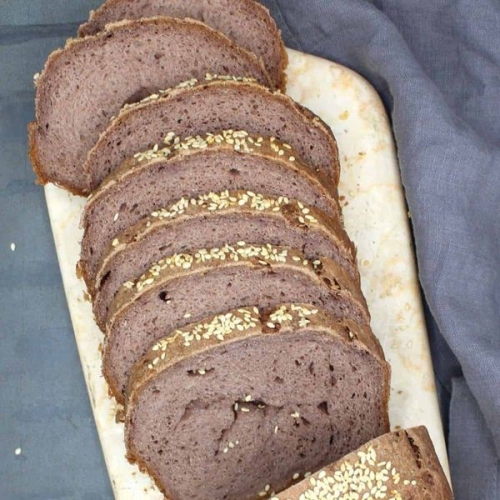
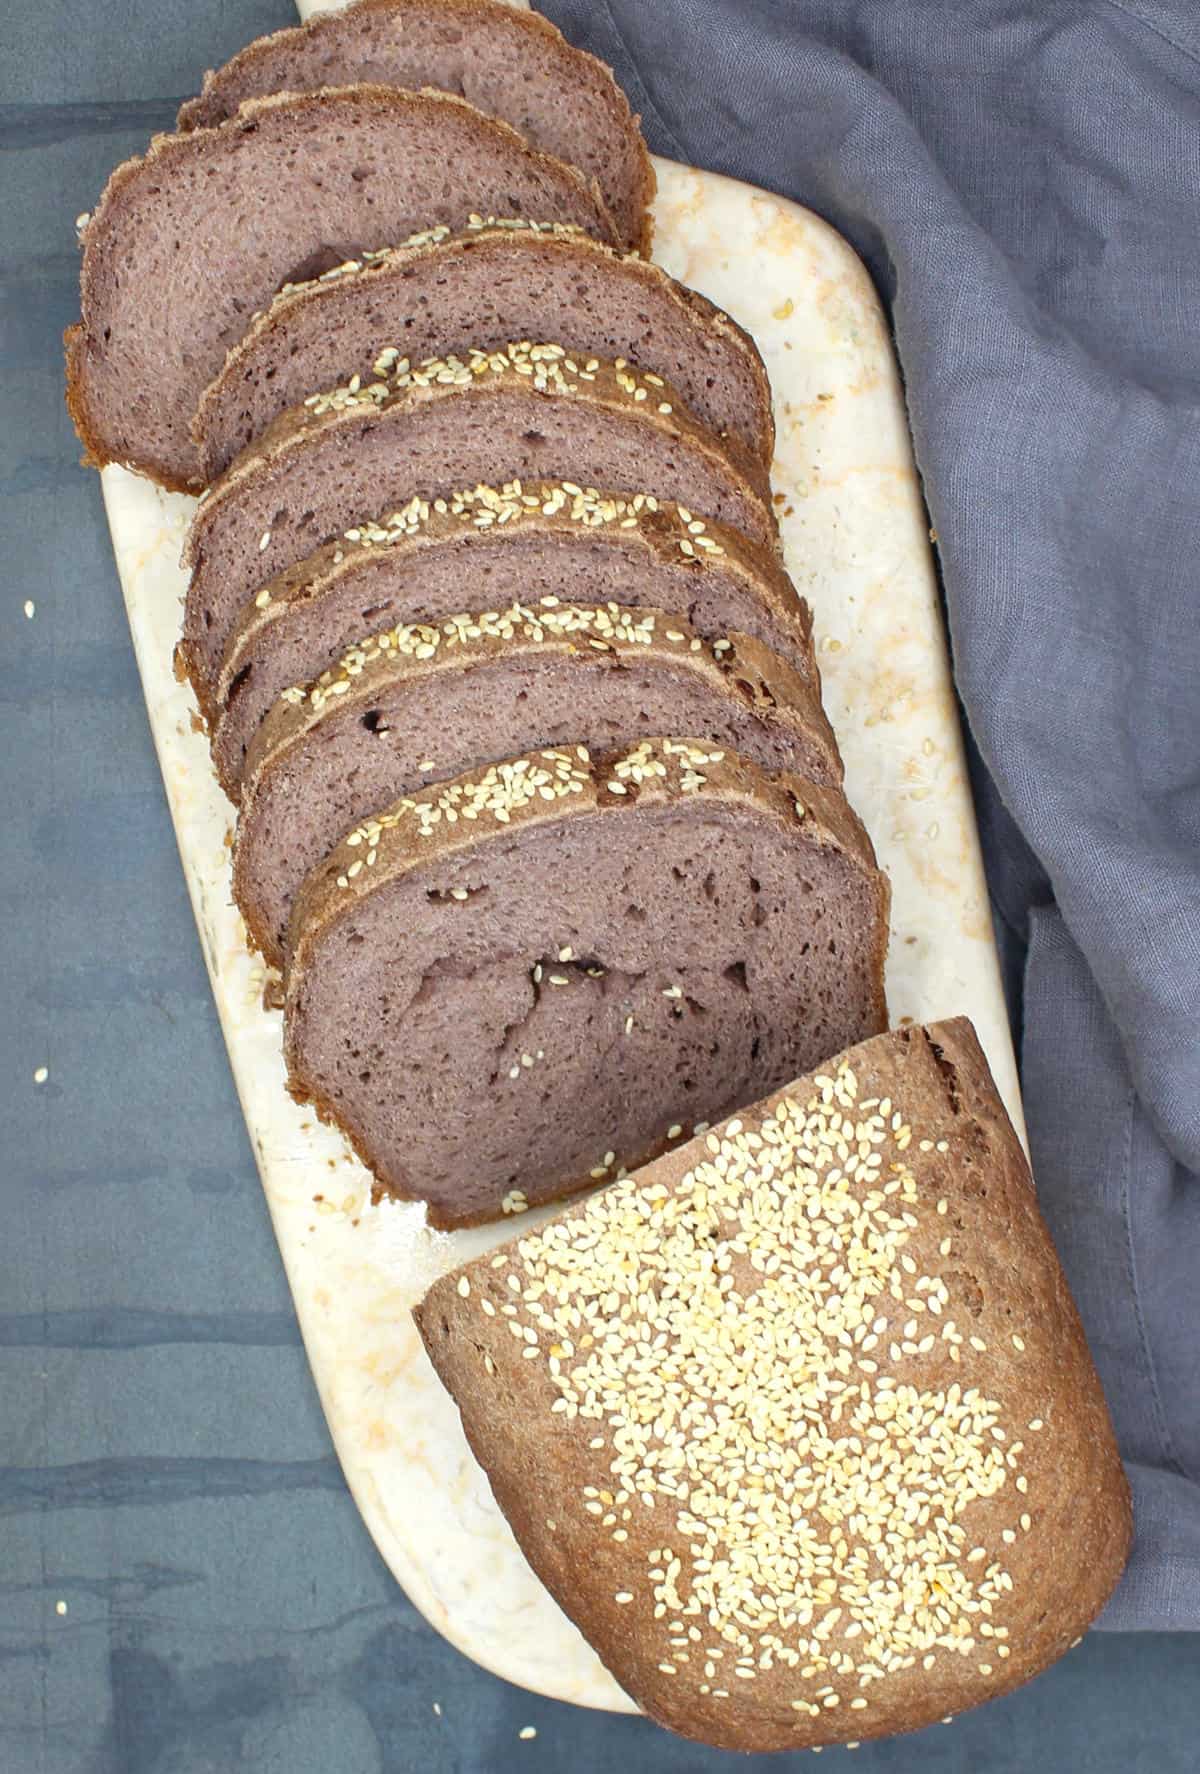
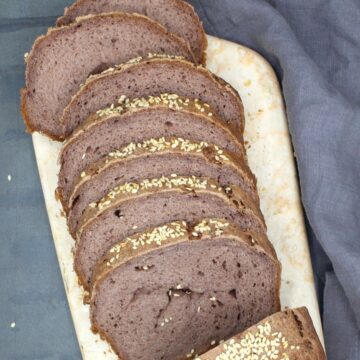
A flavorful and easy low-carb and whole-wheat sandwich bread. This bread is whole grain, has a soft crumb and crust, and it has four grams of protein and just eight net carbs in each slice.
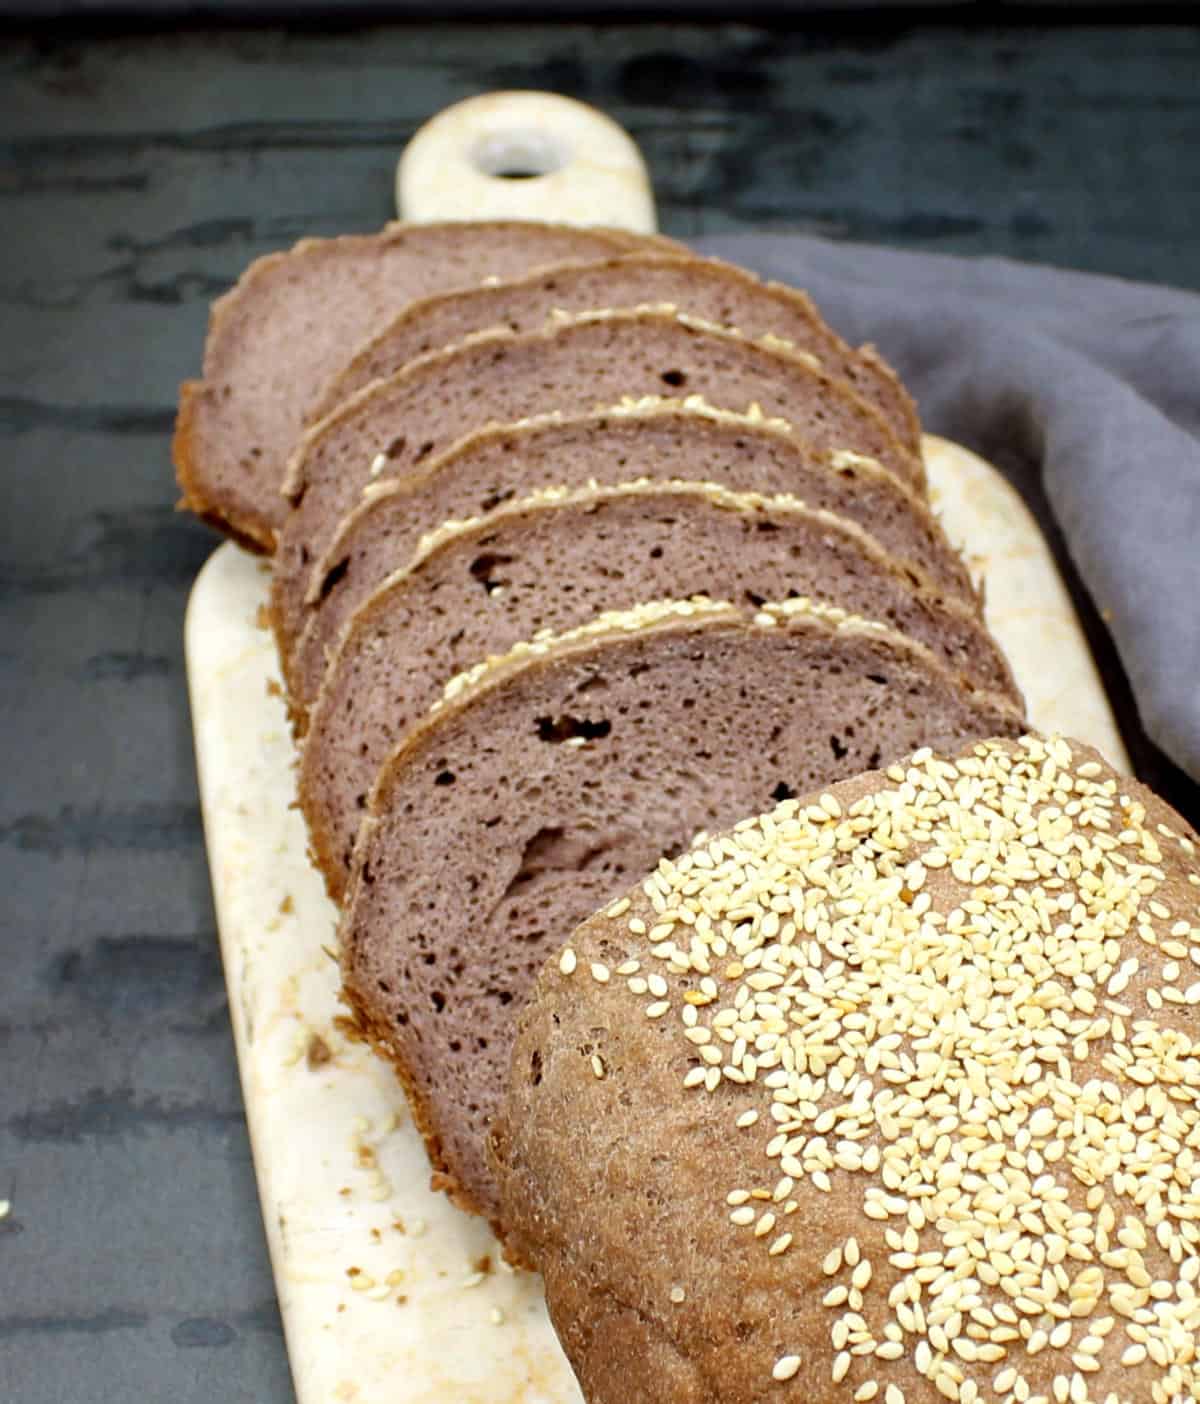
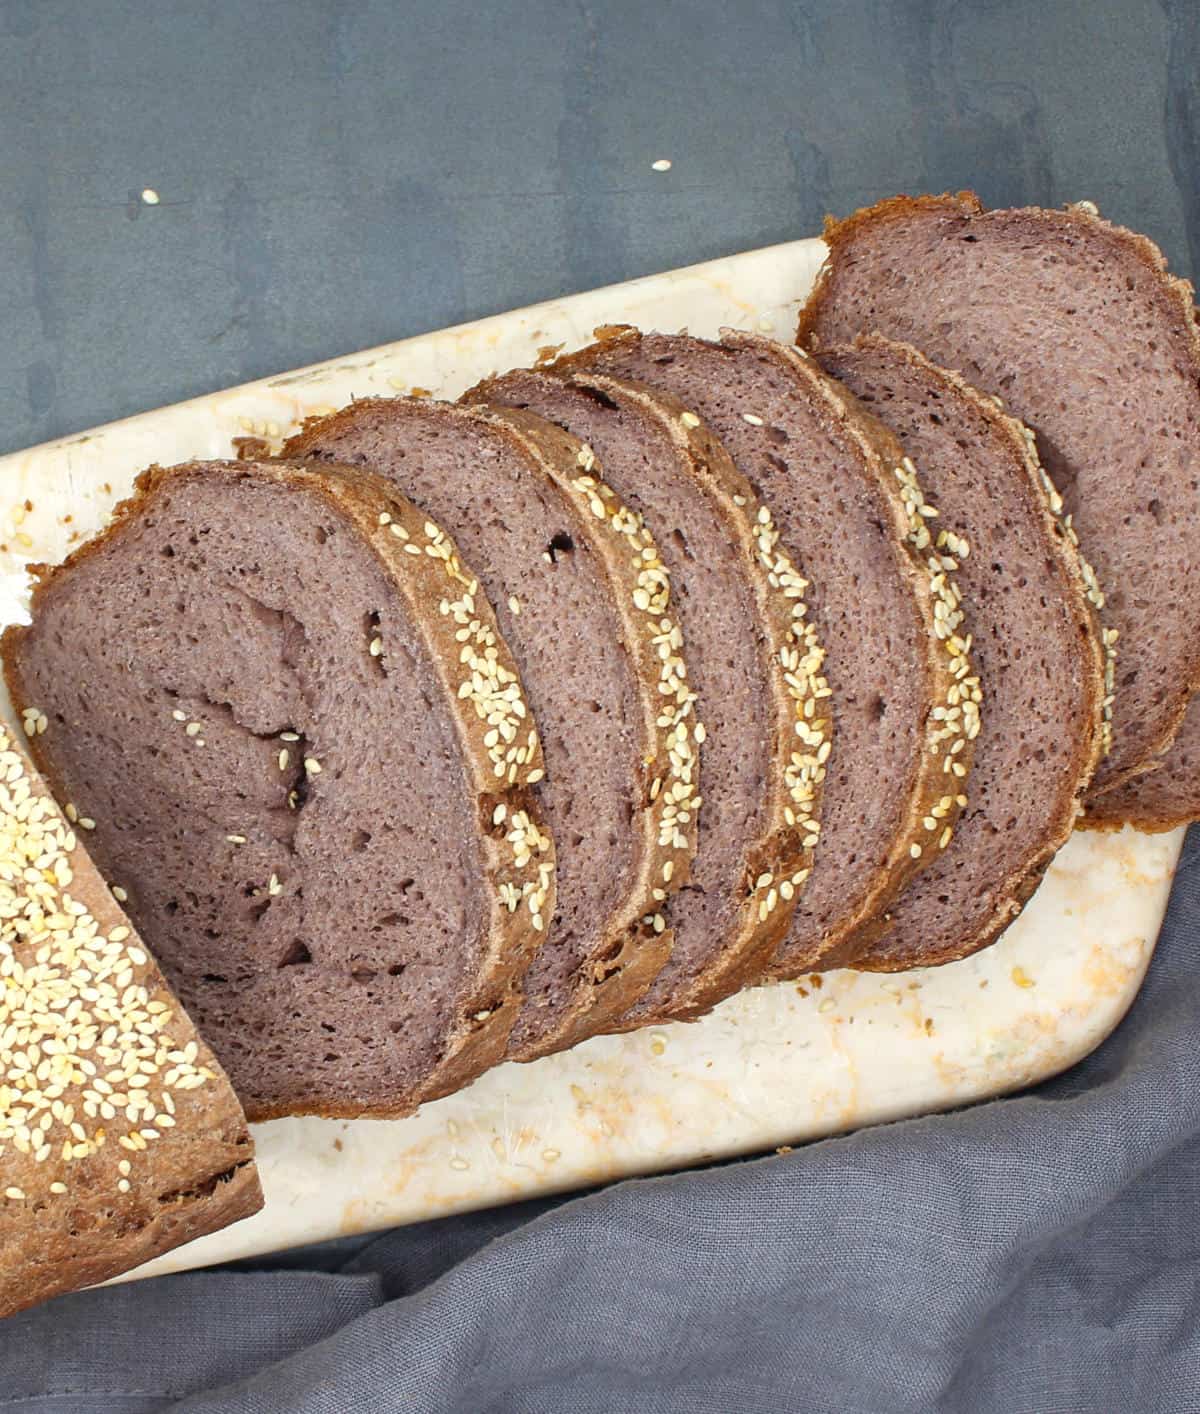
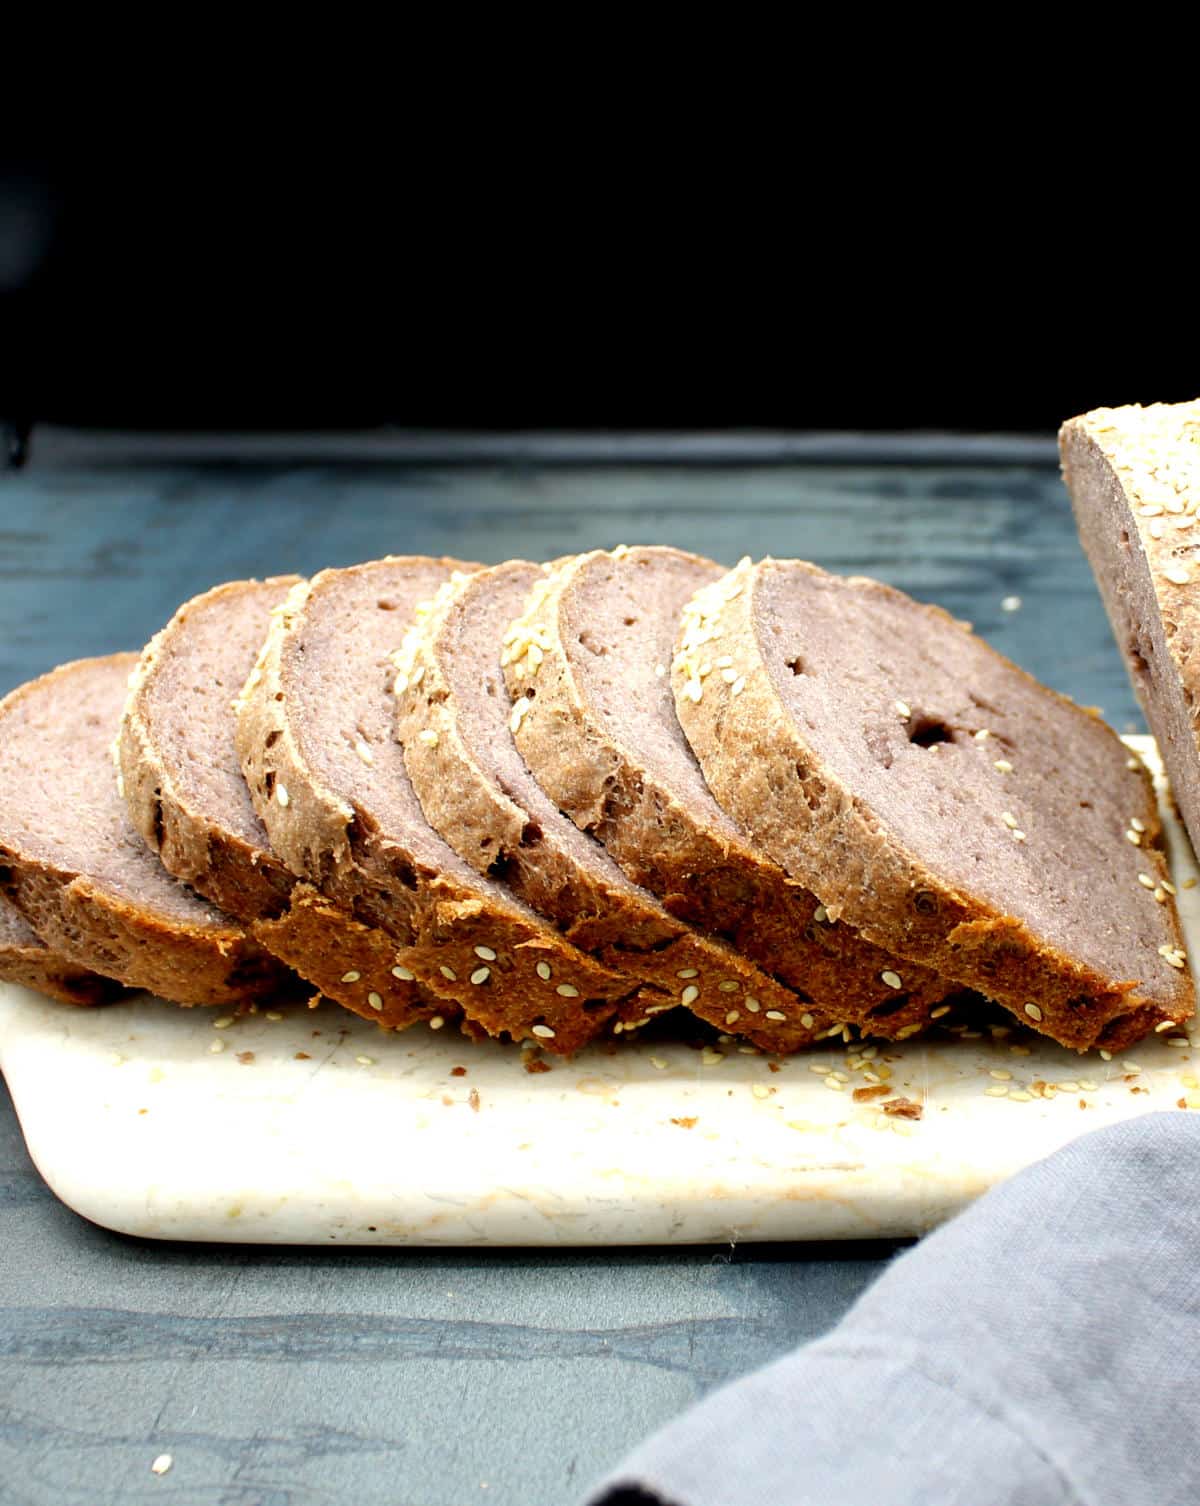
The bread is so soft and tender and it has a slightly chewy crust. You will love the fluffy texture! The bread slices beautifully and it’s great for sandwiches.
It’s way healthier than storebought low-carb breads. Those lack flavor and more important, they lack healthful ingredients. Many are packed with ingredients like hydrogenated soybean oil and preservatives. My low carb whole wheat sandwich bread is whole grain and it has just six ingredients: yeast, whole wheat flour, vital wheat gluten, psyllium husk, olive oil and soy milk.
Low carb breads can be beneficial to those watching their sugar intake. Low carb breads can satisfy a craving without spiking blood sugar. They are a great way for low carb eaters to have their bread and eat it too.
If you buy low carb breads right now, which often cost a premium, you’ll save money by making your own. I was inspired to make this bread by a reader who said they were saving a ton of money on keto breads by making my whole wheat high protein sandwich bread. That bread is amazing and it is fairly low in carbs with just eight net grams of carbs in each slice. But I wanted to create a version with whole grains and even fewer carbs, and this is it!
You can make this bread from scratch in under three hours. This includes two rises, for the kneaded dough and the shaped loaves. Forty minutes in the oven and you’re done!
Ingredients
4 teaspoons active dry yeast
1¾ cups warm water
4 tablespoons extra virgin olive oil
1½ cups unsweetened soy milk
3 cups whole wheat flour
½ cup vital wheat gluten
½ cup psyllium husk
2 teaspoons salt
How to make low carb sandwich bread
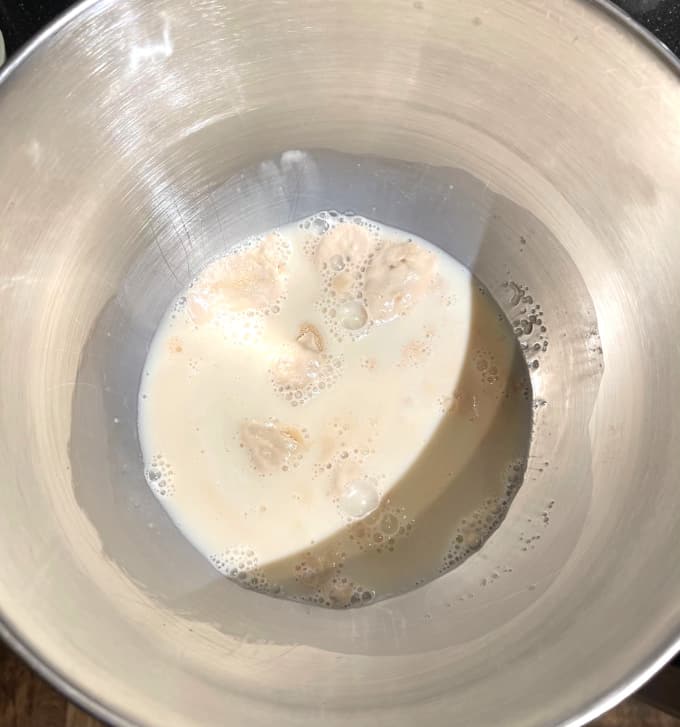
Mix the yeast with the water and let stand five minutes until the yeast blooms.
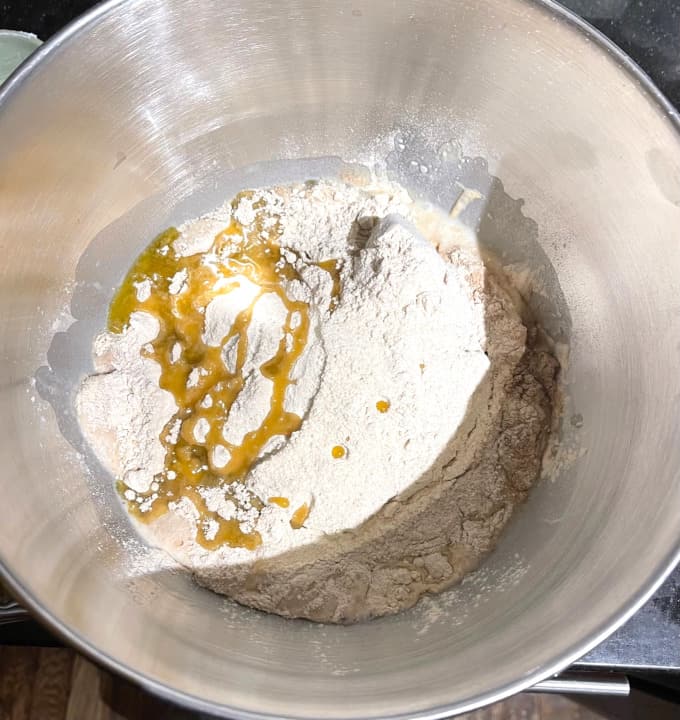
Stir in 2 tablespoons of olive oil, soy milk, 2 cups of whole wheat flour, vital wheat gluten and psyllium husk. Mix with the dough hook attachment on a stand mixer or by hand. Add more flour as needed until a firm dough forms.
Add the remaining oil and continue kneading at least 10 more minutes. The dough won’t look smooth or silky, but if you knead it for long enough your bread will be a success.
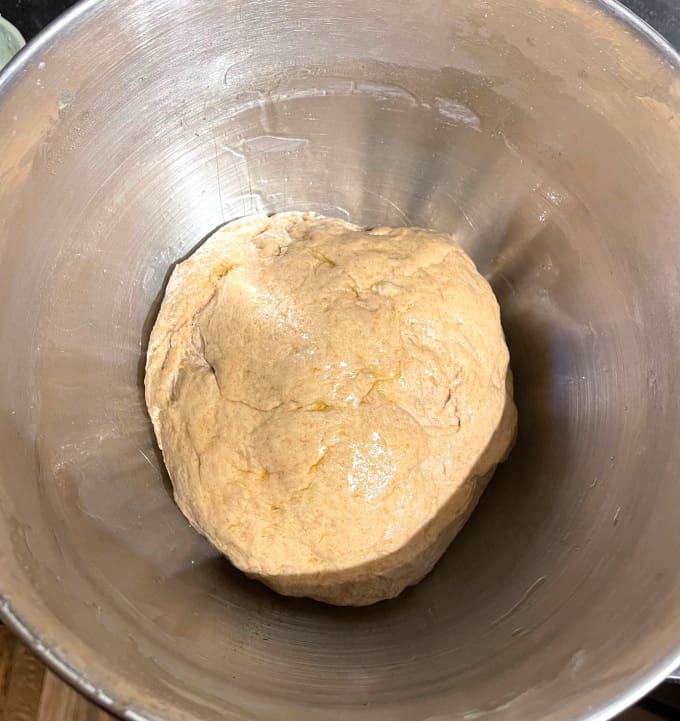
After 10 minutes of kneading form a ball with the dough as best as you can and place it in an oiled bowl, coating the top of the dough with a thin layer of oil as well to keep it from drying further.
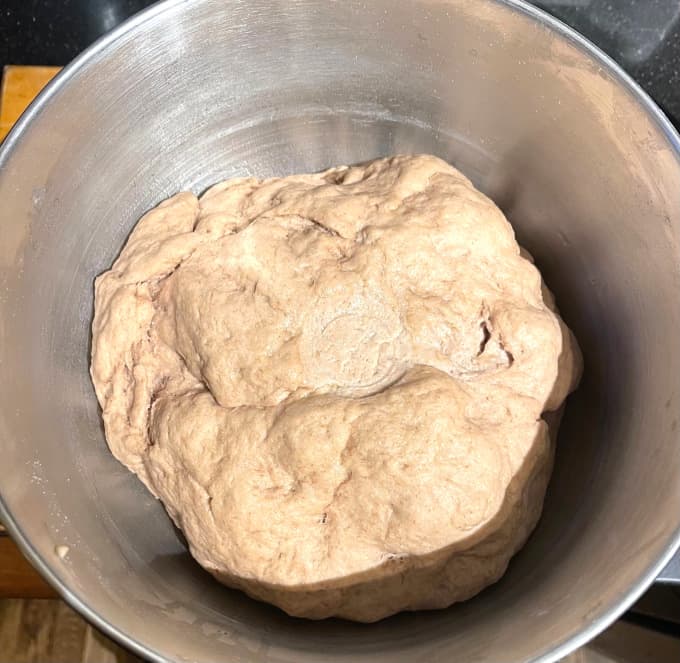
Cover and let stand in a warm place for 45 minutes or until the dough has doubled.
Bloom yeast.Add remaining ingredients to bowl and knead for 10 minutes.Form kneaded dough into a ball.Let dough rise for an hour or until doubled.
Oil two loaf pans.
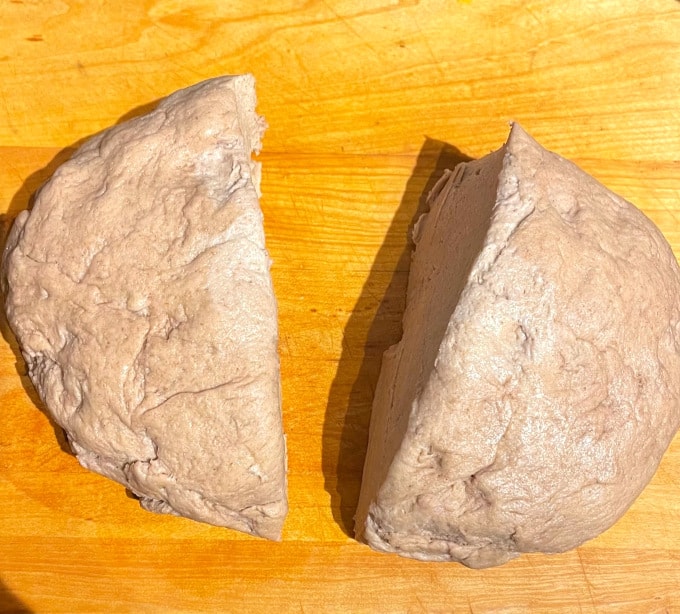
Once the dough has doubled, knead it slightly and then divide into two.
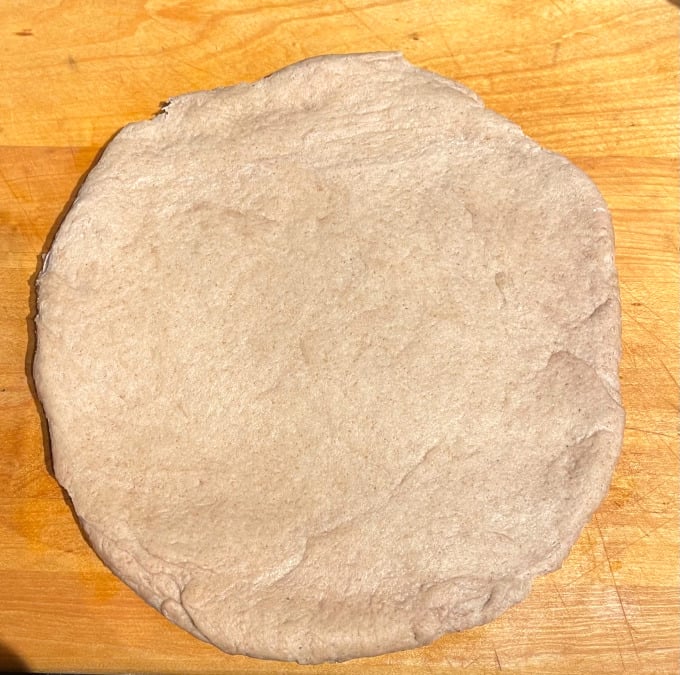
Form each portion into a ball as best as you can, then roll it out to a square of about seven inches.
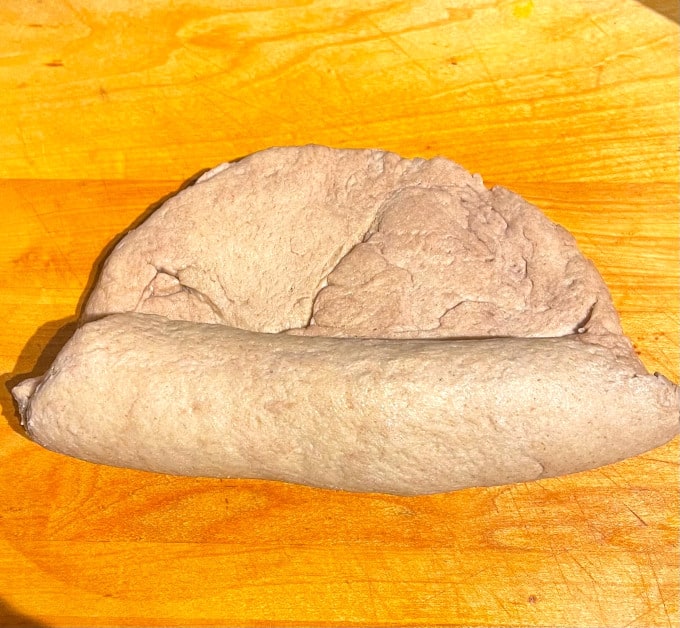
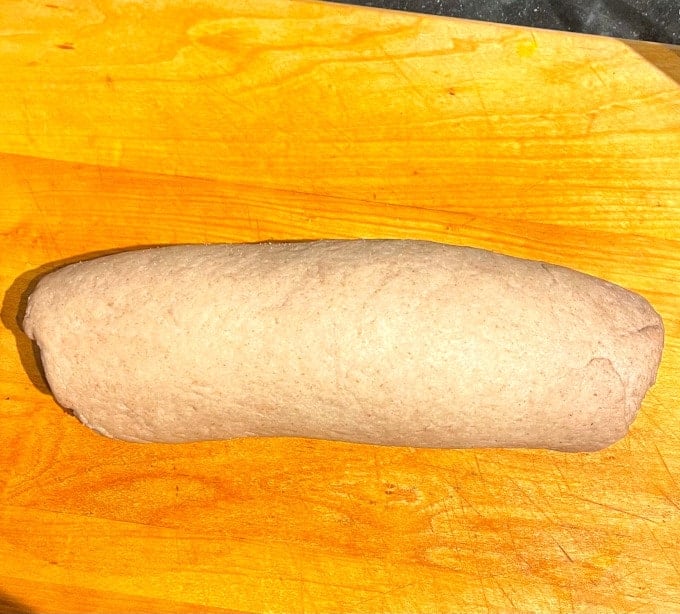
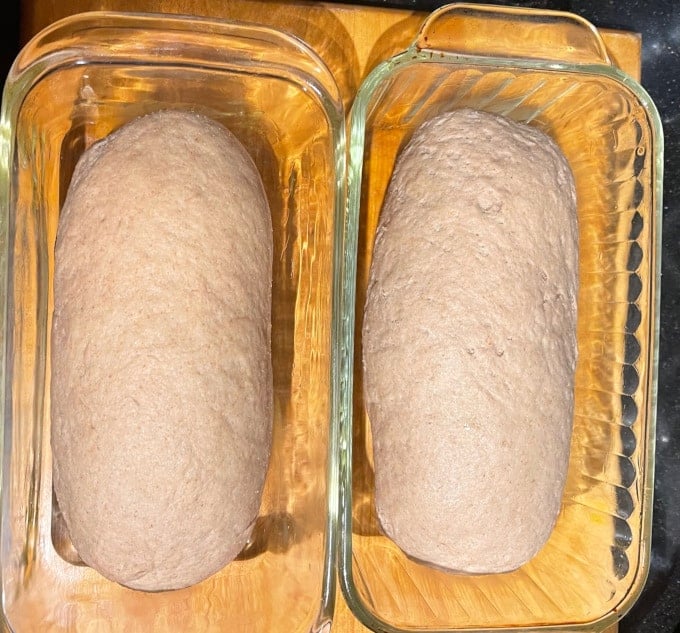
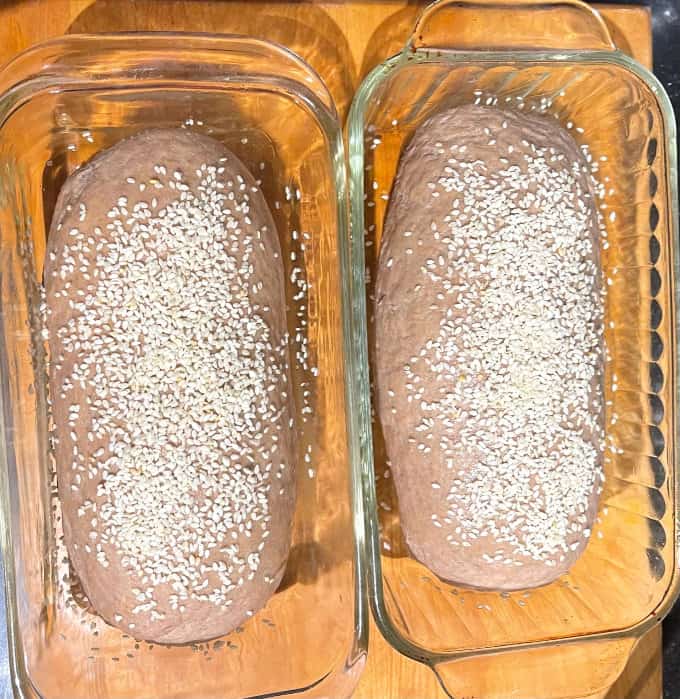
Next begin rolling the dough as you would a jelly roll. Roll it as tightly as you can without deflating the dough too much. Press in the seams tightly and tuck the ends under. Place the cylinder of dough into the oiled loaf pan. Repeat with the second portion of dough. You can brush some water on the tops of the loaves and sprinkle sesame seeds, poppy seeds, pumpkin seeds or sunflower seeds on them at this point.
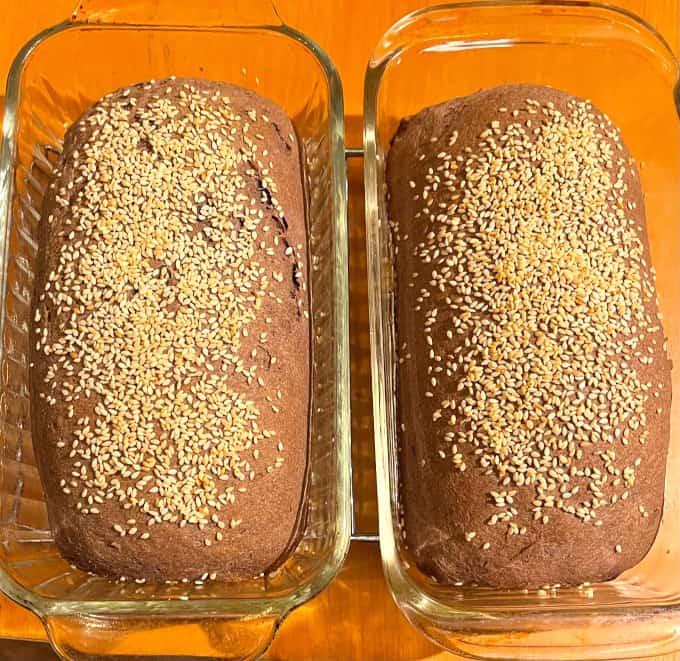
Cover both loaves loosely and place in a warm spot for 45 minutes to an hour or until the dough has risen and nicely domed.
About half hour before the bread has finished rising preheat the oven to 450 degrees Fahrenheit/235 degrees Celsius.
Place the loaves in the oven and bake 10 minutes, then turn down the heat to 350 degrees F/180 degrees C and continue baking another 30 minutes.
Divide risen dough in half.Roll each in a circle or rectangle.Roll dough tightly……into a cylinder and tuck seams underneath.Place risen loaves in glass pans.Cover with sesame seeds and let the loaves rise for 45 minutes to an hour.Bake.
Remove the baked loaves to a rack. After 10 minutes or when the pans are cool enough to handle remove the loaves from the pans and continue cooling on the rack. The loaves should pop out pretty easily but if you have trouble getting them out run a knife along the edges to dislodge them from the pans.
Slice and eat after the loaves are thoroughly cooled.
Recipe FAQs
Is this a keto bread?
Keto diets restrict carbs to under 50 net grams and most of the carbs in a keto diet should come from vegetables as those are so important. If you are following a keto diet, which is very restrictive and forbids wheat, this may not be the bread for you. However if you are eating a sensible low carb diet and keeping your carb count to under 100 net carbs each day, you can easily eat this sliced bread (with eight grams of net carbs per serving) and enjoy every bite!
Can I add seeds to the dough?
You absolutely can make this a seeded bread by mixing seeds like sunflower seeds and pumpkin seeds into the dough. Keep in mind that this bread dough is not as smooth as a regular bread dough because of the presence of the psyllium husk which soaks up a lot of liquid, so adding seeds may make it a little harder to work with.
How long can I store this bread?
You can store the bread in the fridge for up to a week and in the freezer for up to three months. Be sure to pack it in a freezer-safe bag or container.
Why does the bread look purple?
The psyllium husk can tinge the bread purple or gray but this does not affect the taste or texture in any way.
Expert tip
To ensure your loaf bakes up nicely make sure you press in all the seams after forming the loaves and ensure a tight seal. And don’t slice the bread until thoroughly cool!
A whole wheat low carb sandwich bread with 77 calories, 4 grams of protein and 8 grams of net carbs per slice. You will also love the incredible flavor.
Prep Time 15 minutesmins
Cook Time 40 minutesmins
Proofing time 1 hourhr45 minutesmins
Total Time 2 hourshrs40 minutesmins
Ingredients
4teaspoonsactive dry yeast
1¾cupswarm water
4tablespoonsextra virgin olive oil
3cupswhole wheat flour
1½cupsunsweetened soy milk
½cupvital wheat gluten
½cuppsyllium husk
2teaspoonssalt
Instructions
Mix the yeast with the water and let stand five minutes until the yeast blooms.
Stir in 2 tablespoons of olive oil, soy milk, 2 cups of whole wheat flour, vital wheat gluten and psyllium husk. Mix with the dough hook attachment on a stand mixer or by hand. Add more flour as needed until a firm dough forms.
Add the remaining oil and continue kneading at least 10 more minutes. The dough won’t look smooth or silky, but if you knead it for long enough your bread will be a success.
After 10 minutes of kneading form a ball with the dough as best as you can and place it in an oiled bowl, coating the top of the dough with a thin layer of oil as well to keep it from drying further.
Cover and let stand in a warm place for 45 minutes or until the dough has doubled.
Oil two loaf pans. Once the dough has doubled, knead it slightly and then divide into two.
Form each portion into a ball as best as you can, then roll it out to a square or circle of about seven inches.
Next begin rolling the dough as you would a jelly roll. Roll it as tightly as you can without deflating the dough too much. Press in the seams tightly and tuck the ends under. Place the cylinder of dough into the oiled loaf pan. Repeat with the second portion of dough. You can brush some water on the tops of the loaves and sprinkle sesame seeds, poppy seeds, pumpkin seeds or sunflower seeds on them at this point.
Cover both loaves loosely and place in a warm spot for 45 minutes to an hour or until the dough has risen and nicely domed.
About half hour before the bread has finished rising preheat the oven to 450 degrees Fahrenheit/235 degrees Celsius.
Place the loaves in the oven and bake 10 minutes, then turn down the heat to 350 degrees F/180 degrees C and continue baking another 30 minutes.
Remove the baked loaves to a rack. After 10 minutes or when the pans are cool enough to handle remove the loaves from the pans and continue cooling on the rack. The loaves should pop out pretty easily but if you have trouble getting them out run a knife along the edges to dislodge them from the pans.
Slice and eat after the loaves are thoroughly cooled.
Leave a Reply